
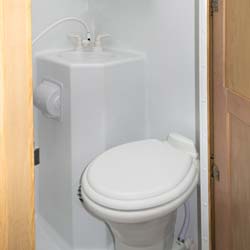
As you know, there is a big need of using the toilet in your recreational vehicle when you are travelling on a long trip with your family. RV toilets are available as very convenient and comfortable options and there is always a need of perfectly working RV toilet when you are going to plan your next trip. In this kind of situation, you never want to face any kind of trouble with your RV toilet when you are ready for your family trip. If there is any kind of problem in RV toilet, you will need to replace it with a new one for comfortable and convenient use.
Now, there is no need to visit repair shop when you want to replace the toilet of your recreational vehicle. If you also want to know that how to replace RV toilet, you will be able to get proper help at thecurveahead website. However, a guide given below for it:
Making The Preparation to Replace the Rv Toilet:
If you are ready to replace RV toilet to manually, you will need to make proper preparation for it. First of all, make sure that the water supply is off in your RV toilet. After that, you will need to flush the toilet so that you can reduce the pressure of water Line. You will also need to empty the black tank before you start to replace the RV toilet. It will be good to keep the window open so that you can get fresh air and you can also use of breathing mask because you may find it a stinky job. You will also need to get some of the important and useful tools and equipment that will be used to open and tight the nuts in the bolts. You will need to be prepared to clean the waste tank of your toilet when you are going to replace it with a new one.
Remove the Old Toilet:
It may be one of the easiest parts of the process of replacing your RV toilet. There will be too two small sized bolts on each side of the base of your RV toilet. You will need to remove both of these bolts and then you will be able to lift up the old toilet to remove it. when you will buy a new toilet, you will also find a new rubber seal with it. Even if you don’t get it with your new toilet, make sure to buy it so that you can and make a proper seal to prevent the leakage issues.
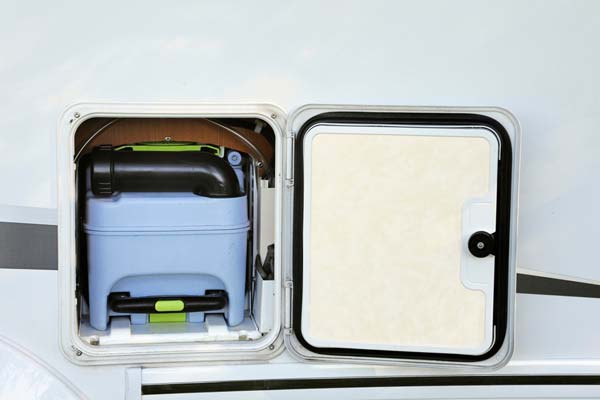
Clean the Black Tank:
One thing is for sure that you will not like the next part in the whole process. It is the time to survive the smell of death so be prepared for it. After removing the old toilet, you will find a black hole below it where the waste tank is attached below it. You will need to fill in the black tank before installing the new toilet in your RV. If you are using external tank flush, you are very lucky I otherwise you will need to take a headache of cleaning the tank in a proper way.
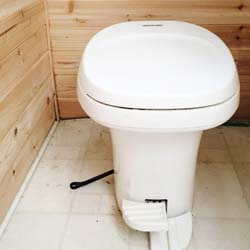
Installing the New Toilet:
Here is the exciting part of the process of replacing the RV toilet. You are ready to install the new toilet in your recreational vehicle. It will depend on the type and brand of your toilet that you have bought for your RV. If you have got a different type of toilet then you will need to check out the coordinates on the floor according to your new toilet seat. You will also need to make the holes for the bolts on the floor according to the new toilet that you have got for your vehicle.
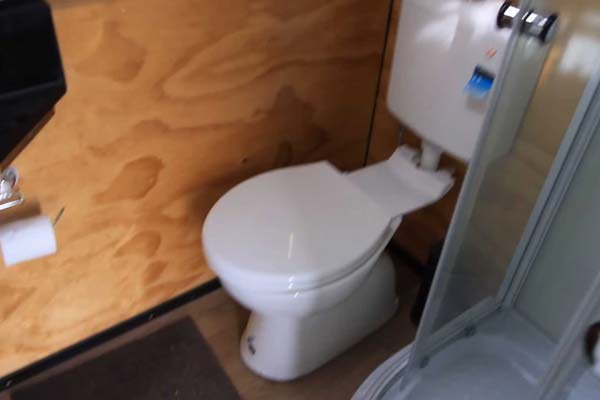
You will need to line up the new toilet with the bolts on the floor and you will need to replace the rubber seal with a new one so that you can prevent the problem of water leakage in your vehicle. If you are able to remove flange then it will be good to replace it so that you can prevent the issue of any cracks after a long time of use.
Once you place the rubber seal at the right place then you will need to put down the toilet seat according to the line of bolts on the floor. Then you will need to screw the nuts and make sure to push it down so that you can tight it in a proper way. It is important to prevent over-tightening of the nuts because it can cause the cracks or damage to your new toilet seat. In this kind of situation, you will need to get a new one and you never want to make such a big investment again.
Once you set up the toilet and you screw the nuts in a proper way, you will need to make the connection of water. It is a quite easy and convenient process so you will not face any kind of discomfort in it. When you are going to make a connection of water, you will need to prevent the leakage issues with proper sealing. Once you connect the waterline with your new toilet, you can turn on the water pump and can see if everything is working in a proper way. It is the complete process to install a new toilet and you will not face any kind of discomfort in it.
It is the complete process when you want to know how to replace RV toilet. There is a need of focusing on several factors including the type, size, shape and features of your RV toilet that you are going to install in your vehicle. On the basis of all these factors, you may need to follow some additional steps for the complete process. You can definitely check out some online video tutorials or you can get some useful tips online when you do not want to face any kind of inconvenience in the process.